Webinar Template
Template for webinar content. The template outlines basic features of the Wordpress editor and provides a step-by-step for adding webinar content.
Add the title for your webinar in the first line on the canvas. This will automatically be an H1. Do not change the heading tier. Do not use any other H1 headings on the page. If there is already text in the first line, just replace it with your webinar title.
Add a featured image of 1280 x 720 in the right sidebar under the post tab.
Add an excerpt describing the content of the webinar in the right sidebar post tab, just under the featured image section. This excerpt can also be a subtitle or meta description and should not be longer than 55 words.
Select a category under “resources” in the right sidebar post tab. Make sure to uncheck “Uncategorized.”
Select the “Audio” or “Video” tag in the right sidebar post tab, depending on the content type. Start typing the tag in the box and select the tag that pops up.
Content blocks can be added by clicking the plus button in the header menu on the top left. Left sidebar will slide out with a selection of content blocks you can add to a post. To add something, click and drag the item from the sidebar selection onto the canvas.
Add the video for the webinar under the title of the page. To do this, drag in the video block from the left sidebar and place it below the title. A popup menu will appear where you will select insert from URL. Insert the YouTube or Vimeo link for the video in the link block and click the enter button.
Add a margin to the video to create some space around it before the text appears. To do this, click the video block and hover over the styles subtab in the right sidebar. Add 24 px to the box.
Optionally add a caption to the video like you would to a post on social media. The caption should not be longer than 160 characters. To do this, click on the video block and then select the add caption icon from the popup menu.
For audio content like podcasts, you will follow a similar process as the video content. Drag in the audio block from the left sidebar and place it below the title. A popup menu will appear where you will select insert from URL. Insert the Spotify or other podcast media link for the audio in the link block and click the enter button.
Add a margin to the audio block to create some space around it before more text appears. To do this, click the audio block and hover over the styles subtab in the right sidebar. Add 24 px to the box.
Optionally add a caption to the audio content like you would to a post on social media. The caption should not be longer than 160 characters. To do this, click on the audio block and then select the add caption icon from the popup menu.
It’s best practice to either add a transcription for the webinar/podcast or show notes in which you would describe the content of the webinar. I would recommend using show notes, as transcriptions can be difficult and time-consuming to curate and lay out. When using show notes, think of it as a shortened blog entry, describing in moderate detail the topics discussed and key outtakes of the webinar.
This is also a good place to link to other media relating to the company, the speakers, and the topic being discussed. To add in links, you can highlight any text content on the page and click the link icon in the popup menu. enter the relevant link in the box and click the enter button.
To create a list of links anywhere on the page:
Use H2 headings to separate content sections. To add headings, drag in the heading block from the left sidebar and drop it where you want your heading. The default heading is H2. To change the heading tier, click the heading and select the H2 icon from the popup menu for more options.
When necessary, use H3 headings as subheadings to break up large pieces of text content under sections.

Template for webinar content. The template outlines basic features of the Wordpress editor and provides a step-by-step for adding webinar content.
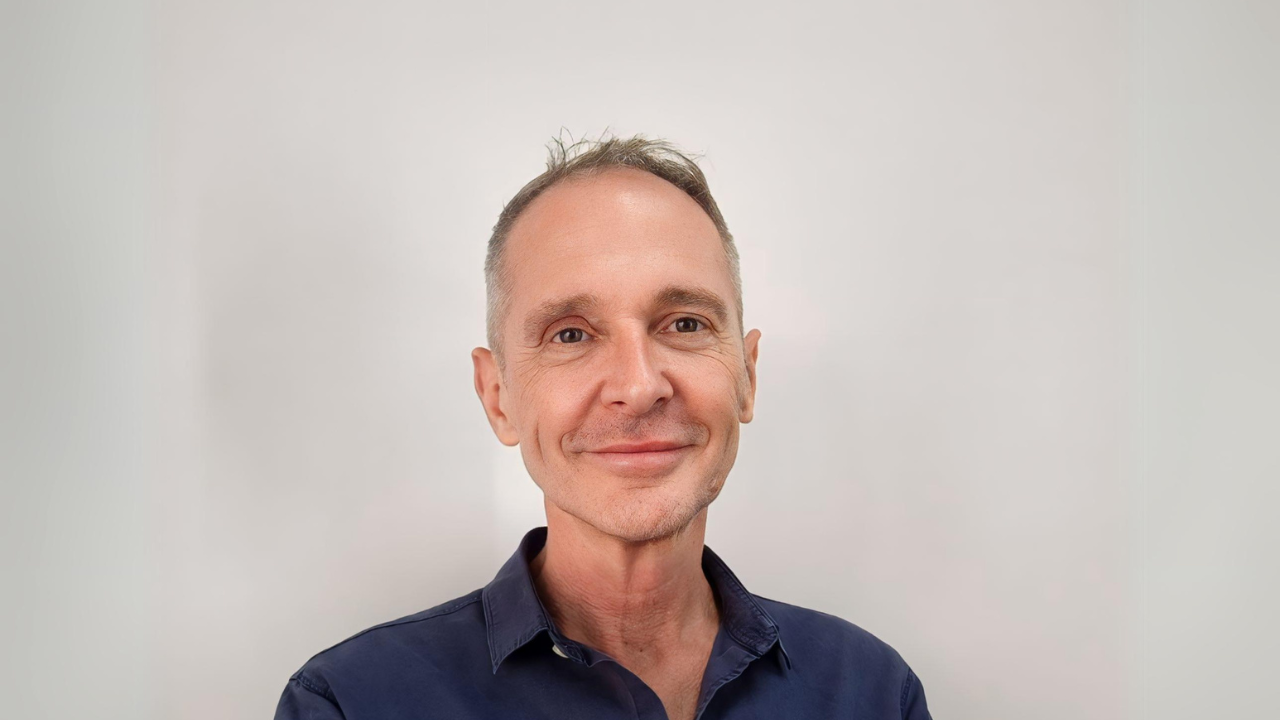
Founding member of the IFNLP, Simon discovered the transformative power of NLP during his time as Account Director in direct marketing. Simon’s belief in the role of individuals to shape and determine outcomes that go way beyond themselves stems from the understanding that thoughts drive actions.
His number one goal in life is “to know that he gave more to this world than he took from it.” Working with a dedicated and aligned team, he strives to make a difference with a resounding #Give-A-Damn ethos, emphasizing the importance of contribution.
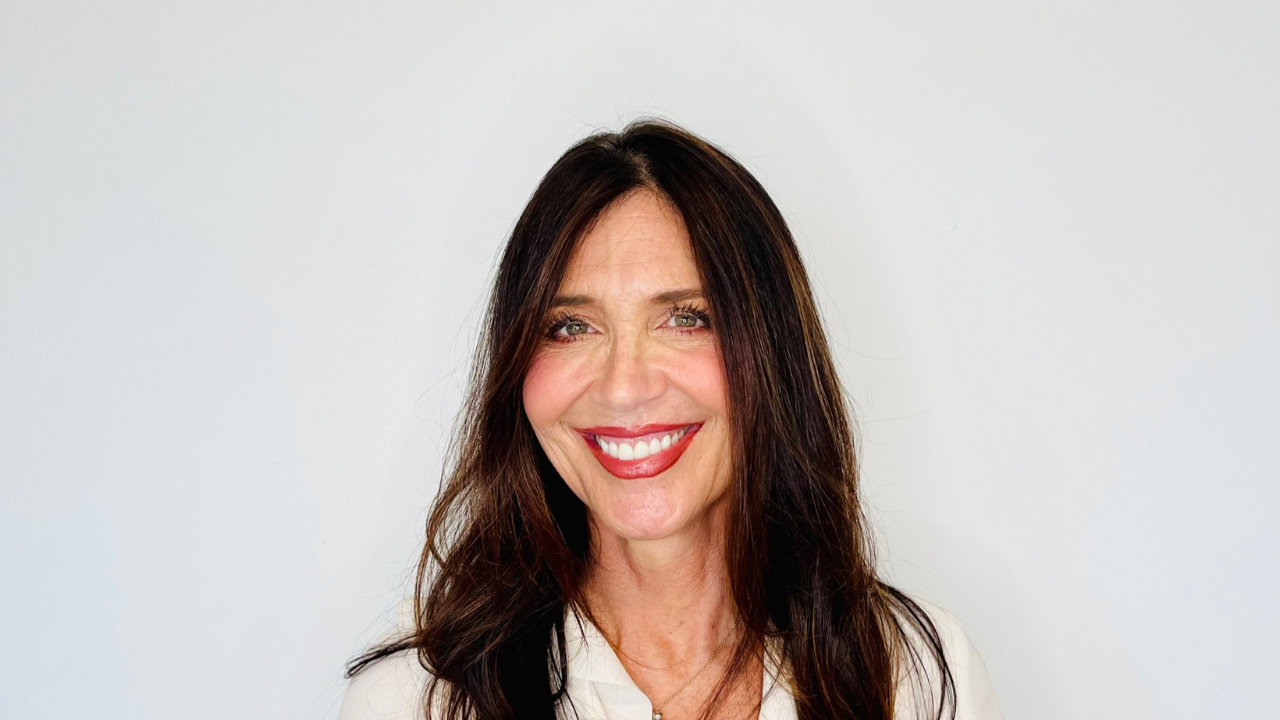
Angela Lightfoot, a highly experienced Happiness Life Coach, radiates a passion for people and community. Armed with over 20 years of coaching and personal development expertise, Angela empowers individuals to discover their purpose and embrace self-empowerment.
Guided by her core values of nurturing relationships, spirituality, and nature, Angela is committed to creating a safe harbor within IFNLP where others can thrive and make a difference. By employing powerful tools in NLP, Angela unlocks the untapped potential within individuals, enabling them to unleash their true capabilities and leave an indelible mark on the world.

With Professionality and Passion, Vivi is committed to making a difference. She is a strong believer that every person deserves the right to be in control of their lives to make this world a better place for the next generation.
Vivi is passionate about spreading knowledge with the highest level of standards possible. She notes, “With NLP, we are given the capability to design and live life the way we want, not just by default, and that is our birthright!”
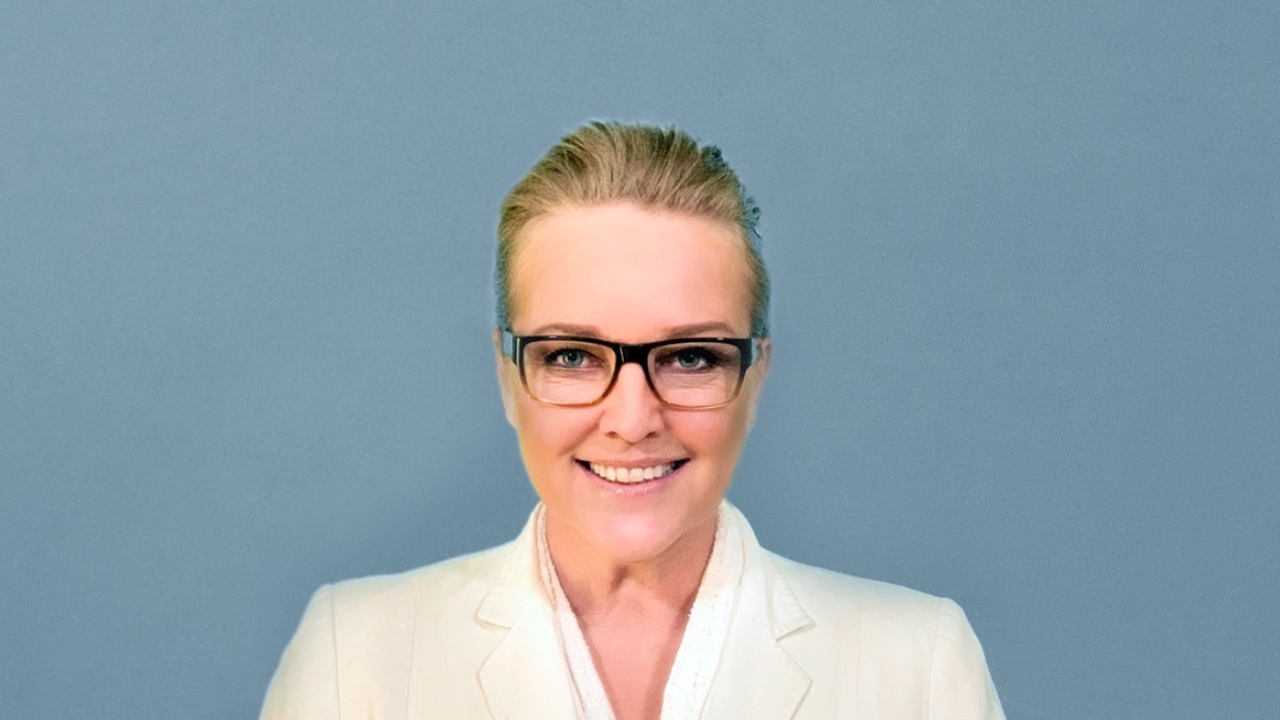
Anita completed her trainer certifications in NLP, hypnosis, coaching, and timeline techniques in 2008. Driven by her mission to help individuals conquer trauma, improve communication, and break free from limiting thoughts, Anita continues to enhance her approach, guiding clients to break free from that which holds them back.
Anita aims to help people move forward and create the life they truly strive for. With vast global experience, her commitment to ethical practice led her to join the IFNLP, where she found a supportive community aligned with her values, fostering a genuine connection to humanity’s well-being.
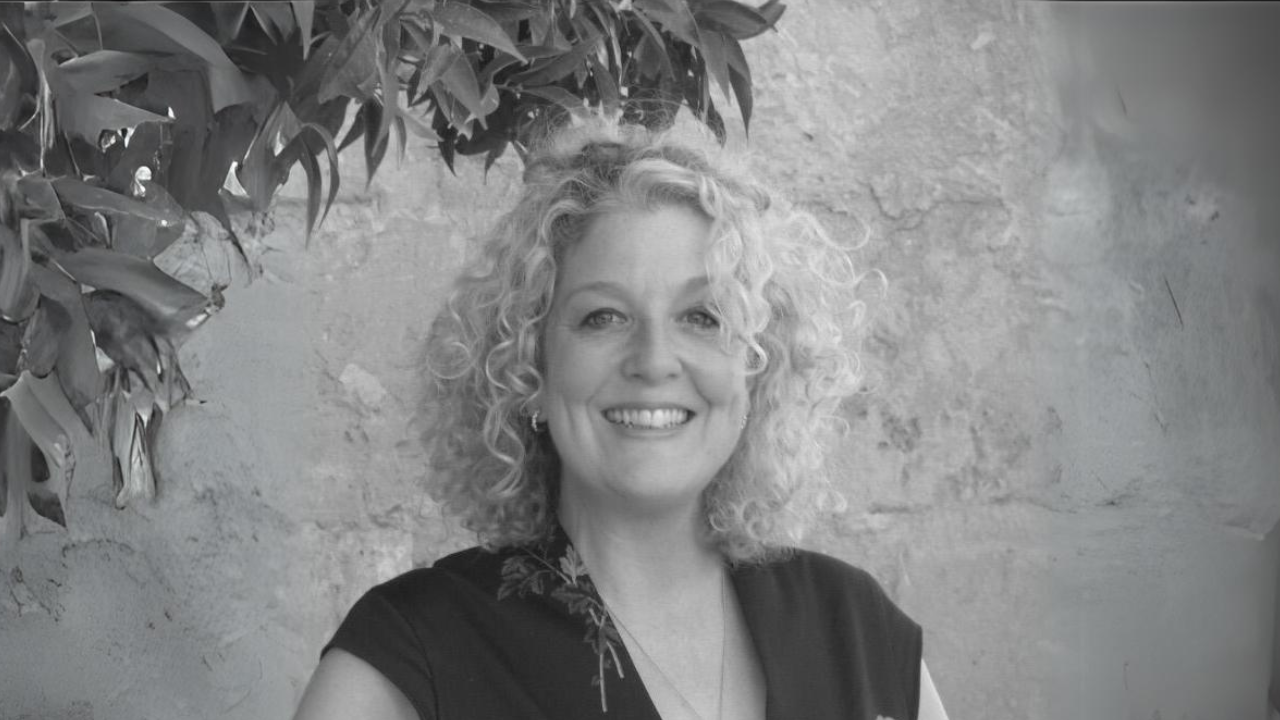
All boards act in different ways; however, the composition and management of any board are essential to the smooth and sustainable running of a business. With board experience across numerous business sectors, Andrea is a huge asset to IFNLP, given her wide range of professional expertise of 25+ years.
A “can do” professional who encourages and drives strategic decision-making whilst galvanizing board support and ensuring smooth communication and follow-through. Her impressive technical and interpersonal skills will assist the IFNLP in this crucial development phase and will ensure we are on track through all stages of growth.
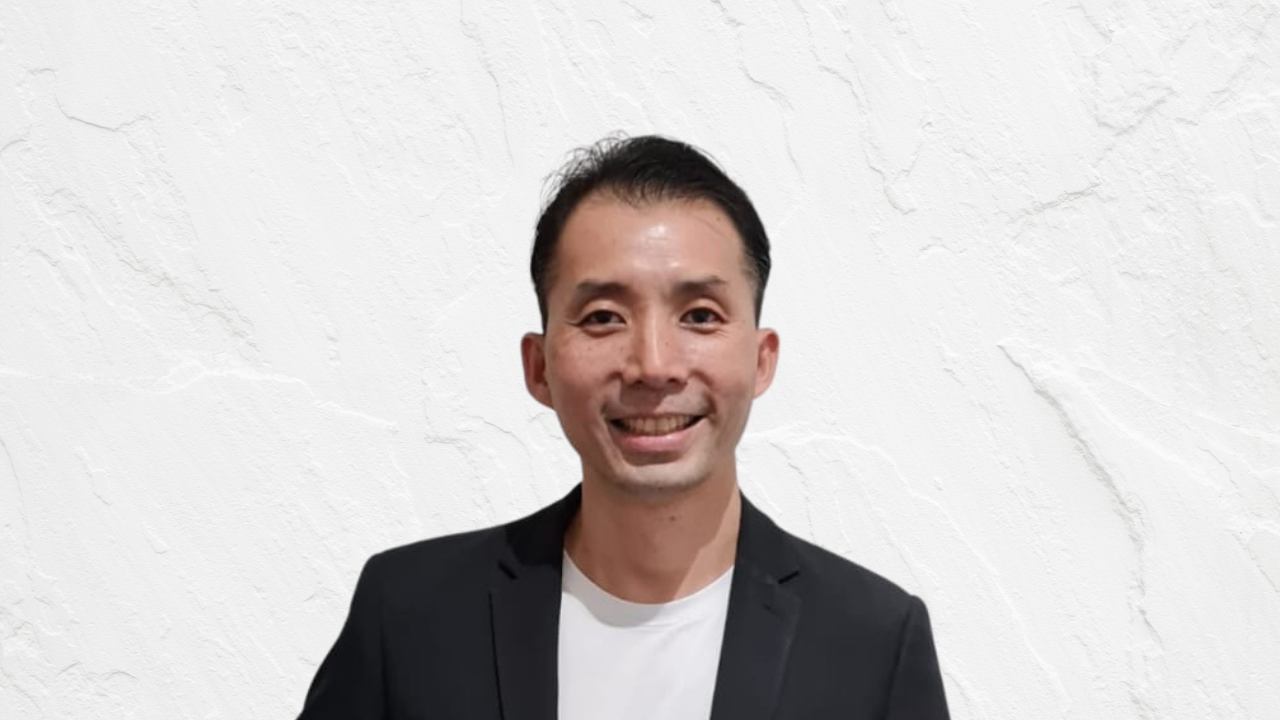
George is trained as a soldier, built with determination, and instilled with discipline. George is serious about deploying NLP and starting to make a greater impact in this world.
He strongly believes that the right form of education will get a person to be empowered, and start taking charge of their own situation.
Everyone can be inspired, and everyone can be transformed. It’s only a matter of receiving the right training, and meeting the right educator.

With over 15 years of experience in the realm of NLP, Camelia has dedicated her journey to teaching, coaching, researching, and fostering a community that embodies kindness, dedication, and a shared drive to make a difference.
As a firm believer in the transformative power of NLP and the importance of a supportive and inclusive community, Camelia is inspired to take things to the next level.
Her vision is to create a global network of NLP enthusiasts where individuals learn from one another, create impact, and elevate the recognition of NLP to the level it truly deserves.